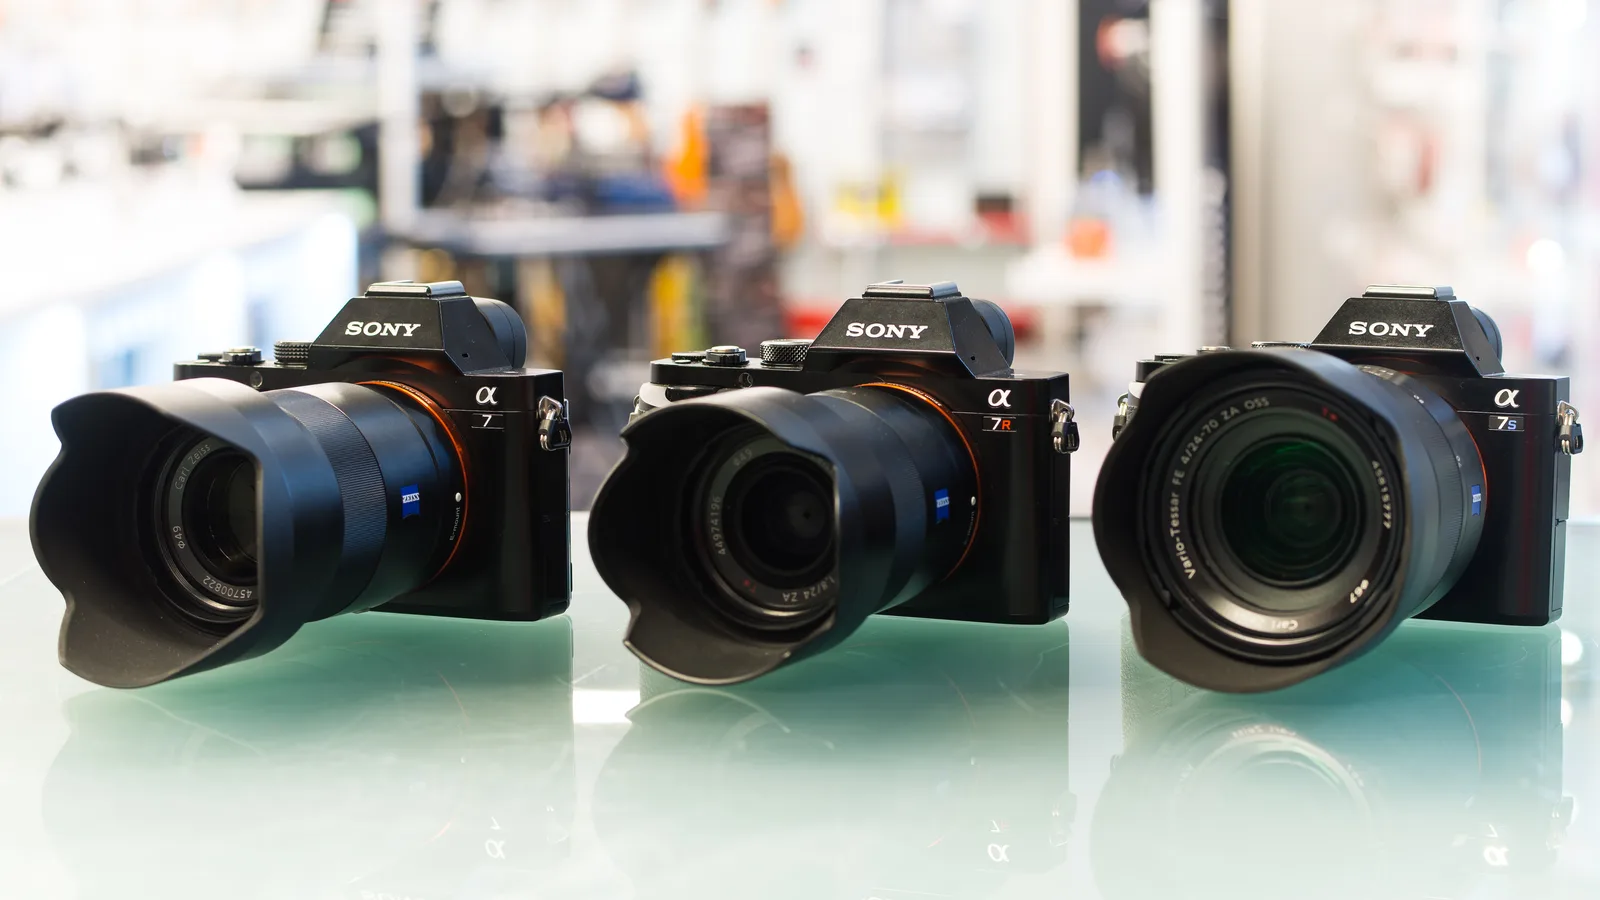
Using a mirrorless camera as a webcam: what you need
No webcam competes with a mirrorless camera. The sensor is 10–50× larger in area than anything sold as a webcam, the lens is real glass, and the background blur is optical rather than algorithmic. If you already own one, turning it into your call camera is mostly a connection problem — and the connection options have gotten much better.
Option 1: plug in over USB (try this first)
Most mirrorless bodies from roughly 2020 onward can present themselves as a standard UVC webcam over USB — the same protocol a normal webcam uses, so browsers and conferencing apps see them with no extra software. Check your camera's menu for "USB streaming", "webcam mode", or similar; Sony, Canon, Fujifilm, Nikon and Panasonic all ship some version of it on recent bodies.
Two things to verify on your specific model:
- Delivered resolution and frame rate. USB webcam modes are often capped — commonly 1080p30, sometimes 720p on older bodies. Plug in and run the browser webcam test to see exactly what the mode delivers; it reads the same values any conferencing app will get.
- Power while streaming. Some bodies charge over USB while streaming, some drain the battery regardless. For calls longer than an hour, you'll want a dummy-battery power adapter either way.
For older bodies without a native mode, the vendors ship desktop software that does the same job in a driver (Canon's EOS Webcam Utility is the best-known). It works, with more latency and occasional app-compatibility quirks.
Option 2: HDMI capture card (best quality)
The ceiling option: take the camera's clean HDMI output into a capture card (Elgato Cam Link–class devices and countless cheaper UVC capture sticks), which presents it as a webcam at up to 4K. This bypasses USB-mode caps entirely and adds the least compression.
The checklist that trips people up:
- Clean HDMI output. The camera must be able to output video without the overlay UI. Most current bodies can; look for "HDMI info display: off".
- Auto power-off. Disable it, or the camera will shut down mid-meeting.
- Overheating. Compact bodies running long HDMI sessions can thermally throttle. Cracking the screen out, disabling stabilization, and powering via dummy battery all help.
- A cheap capture stick is fine for calls. The $20 UVC sticks deliver 1080p30 honestly; per our 4K-on-a-call analysis, that's all a conferencing app will use anyway.
Settings that matter more than the hardware
- Aperture: f/2.8–f/4 usually. Wide open looks dramatic but keeps only your eyes in focus — leaning back drifts you out of the plane.
- Face-detect continuous AF on. This is the whole point of using a real camera; verify it tracks in video mode.
- Shutter around 1/50–1/60, ISO auto. Room light still dominates the result — the advice in look better on webcam applies with a big sensor too, it just fails more gracefully.
- Mic separately. The camera's mic is for reference audio. Use a USB mic or headset, and check it in the browser before an important call.
The all-in cost, honestly
"I already own the camera" hides a few line items. Budget for:
- Dummy battery / USB power: $15–30, non-negotiable for long sessions.
- A mount: a small tripod behind the monitor, a desk arm, or a shelf — $15–50. The camera must sit at eye level near the screen or every call gains a surveillance-footage angle.
- Capture card (HDMI route only): $20 for a fine 1080p30 UVC stick, $100+ for 4K60 with near-zero latency.
- A micro-HDMI cable in the correct, always-slightly-wrong connector for your body.
Realistic total over "free": $50–200. Against that, weigh the fact that the sensor you're deploying outclasses anything in our webcam roundup at any price — the math works if you're on camera for a living, and doesn't if you join two standups a week.
When it goes wrong
The classic failure modes, so you can pre-empt them: the camera sleeping mid-call (auto power-off — disable it); the exposure preview burned into the stream (turn off "exposure simulation"/info overlays); a 30-minute hard stop (old bodies with recording limits often don't apply it to HDMI out — verify yours); focus breathing while the AF hunts (enable face-detect video AF, or set manual focus and stop down to f/5.6); and the encoder melting summer afternoons (ventilation, screen out, stabilization off). Every one of these has surprised someone ten minutes into a webinar. Test the full pipeline once, for real, before it matters — the same discipline as the pre-interview camera check.
Is it worth it?
For daily standups: no — the setup friction is real, and a good external webcam from our 2026 roundup is plug-and-forget. For anything where you're on camera professionally — teaching, sales, podcasts, streams — the difference is visible in the first second, and everything above is a one-time setup cost.